People keep asking me how I draw and what drawing tools I use. I know a few of them think I have special pens or paper with magical properties. Sadly, no.
I will reveal something about the magic behind my drawings at the end of this blog. But first, I'll describe my unmagical process and my unmagical tools.
Drawing Steps
1. Pencil sketch. Most of my drawings start with a pencil sketch. I keep sketchbooks and pads of drawing paper around the house in case an idea strikes. I’m so lazy, I don’t want to have to get up out of my chair to chase tools. Sometimes, because of poor tool management, I am forced to draw on envelope backs and on blank pages of whatever books I am reading.
I especially enjoy doing two or three pencil sketches before going to bed. That way, I'll have something to ink the next morning. This method gives me a good reason to get out of bed in the morning. One needs good reasons to get out of the bed in the morning, right?
Here's a typical pencil sketch. The original is about 4 inches high.

Notice that some of the details are ambiguous. For example the positions of feet and hands and what he’s holding (carrot? chili pepper? dagger?). I usually don’t bother to fix minor problems in a pencil drawing and just work them out while inking. But if there was a major problem like tentacles instead of arms, I might have to erase the problem and fix the problem in the pencil sketch.
There was no model for this drawing. Clowns are easy to draw. Bad proportions, ugly faces, and big ears just make them look funnier. At the time I did this drawing, I had been drawing clowns over and over for a period of several weeks, so this character was just another one of those before going to bed.
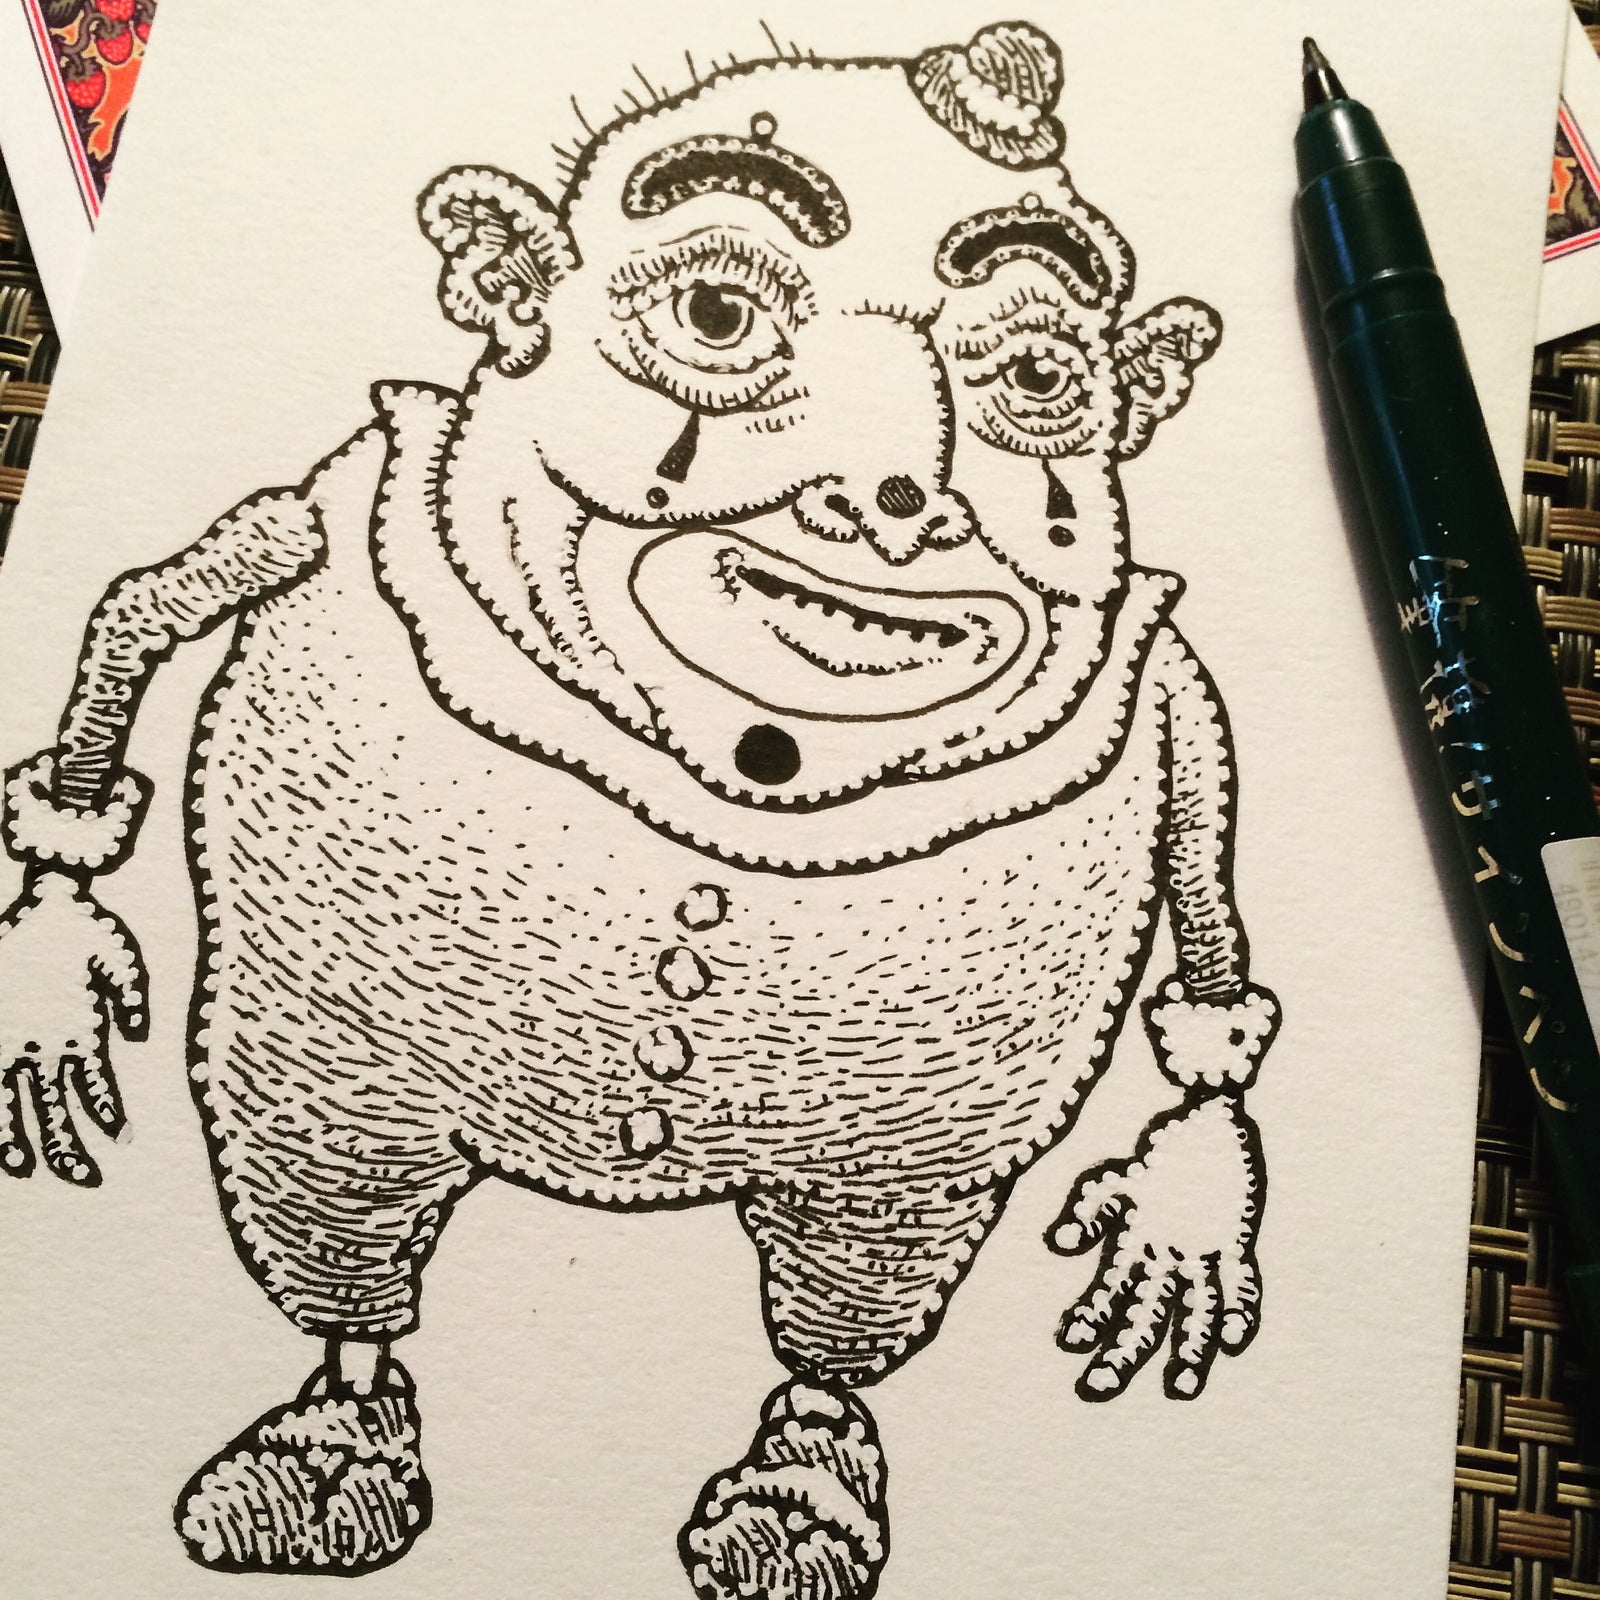
2. Inking. I usually ink over my pencil drawing with a bold brush pen. In this case, I used a Pitt 199 Brush Pen. It allows some modulation of thick and thin like the details around the eyes and the clown’s hair. But most of these lines are fairly thick so they can be reduced in the next step.

3. Gustaving For many drawings, I like to break down one side of the major lines to differentiate the edge side of the line from the interior side of the line. (Think about it. An ink line has two sides. One of them represents the edge between a shape and its background [edge side]. The other side of the ink line is just the interior of the shape [interior side]. Perhaps the interior side of the ink line should be subordinate? That’s what I’m doing by breaking down one side of the line.)
I use a white, Sharpie pen and make a series of cuts half way into the line of the interior side. These cuts are almost always dots, but sometimes they are strokes running either parallel or perpendicular to the direction of the line. Like this...

I like the way gustaving adds interest to my lines and starts to hint at volumes—the roundness of the forms. I think gustaving also adds an interesting rhythm of dots that goes well with the stippling I use for shading. (See next step.)
So, why do I call this technique “gustaving”? You won’t find that term in any textbook. I coined it because I needed a way to refer to the time I was spending breaking my inked lines.
The first time I saw someone break an edge with white intrusions was in a woodcut by Gustave Baumann, a German-born woodcut artist who worked in the U.S. in the first half of the 20th century.

In Baumann’s exhibit poster, he broke into shapes, not lines, but the idea is there. I started experimenting with it and it crept into enough of my drawings that I thought I needed to have a name for what I was doing. So...gustaving. (There is probably a fancy-schmancy art term for this, but I have never run across it and don’t have to time to chase it.)
(One more bit of trivia. It appears that this poster was the only time Baumann used this technique. I have never found another example in the hundreds of his woodcuts that are shown on the web.)
4. Stippling Next, I shade part of the drawing with dots or patterns of lines. This is a chance to increase the impression of volumes to make the subject less flat. Stippling also adds tone, textures, and patterns to the drawing that can later be colored.

I usually take care to align the direction of the stipple field to depict the contours of the shape. For example, suggest the sag of the clown’s big belly by having the stipple strokes sag in a sweeping curve.
Sometimes, it pays to have the direction of the stipple strokes contradict the form. I usually take that approach when the surface I’m showing is boring and flat. By allowing the stipple stroke to curl and swirl, the drawing can become more interesting.
I spend a fair amount of my time stippling little dots and strokes. I’m now good at it. I look forward to being invited to stipple for the U.S. team at the Olympics.
5. Scan and Trace When everything that needs to be stippled has been stippled, I scan the drawing to turn it into a digital file. Sometimes, I use Photoshop to make refinements of corrections to the scan. Typical refinements might include repairing broken likes, correcting the size of an ear, making a hat taller, or adjusting the angle of a leg.
If the drawing is going to be in color or if I plan to combine it with other drawings into a more complex composition, I almost always bring the digital image into Adobe Illustrator and auto trace it.

An image traced in Illustrator loses some details but in the process develops a crisp, hard-edge feeling that reminds me of woodcuts. I like this transformation for most of my drawings. 
The image above is a comparison showing a detail (the tip of a tentacle.) The scan of the original drawing is on the left and the traced Illustrator image is on the right.
Now, let’s talk about the drawing tools I like to use.
Favorite Drawing Tools
Pencils. I prefer a pencil with a very soft lead. My mechanical pencils contain 4B leads. That's the softest I've been able to find. These leads are 5mm (skinny). That's so thin, no sharpening is needed. That’s good because I can seldom find any of my pencil sharpeners.
I also have some wonderful wood pencils with 10B leads. That’s so soft that one doesn’t actually need to touch the paper to make a mark. Just hold the pencil nearby and threaten the paper and marks will appear, That’s all the pressure needed. These pencils make such a dark mark that one can use them to create a finished, scannable drawing and skip the inking step. (See below.)

The drawing above is an example of a pencil drawing pretending to be an ink drawing with thin and thick strokes. Easy with a really soft lead (8B).
Unfortunately, these pencils require frequent sharpening to maintain a fine point. But the pleasant part of that is the delightful cedar-wood smell they give off when being sharpened.
Ink I ink my drawings with black brush pens. I like the variations in line weight that I can achieve. I have several brush pens in my jar. My favorite is the Kuratake extra fine. I’d also be lost without some Pitt 199 from Faber Castell. They're great for bold lines.
White Ink When I reduce an ink line with white (gustaving), I turn to my Sharpie, water-based white pen. These used to be available in a fine point. It appears that it is no longer manufactured, so I’ve become accustomed to using the medium point. Sadly, these markers don’t last very long. After just a few days, they become incontinent. If I can get more than a week of service from one, I’m lucky.
Paper I carry around a Landing Zone sketchbook for drawing and note taking. At home, I often reach for a pad of Stonehenge White from Legion. It’s a delightful, heavy, cotton paper with a fairly smooth surface that suits my drawing style. I try not to draw on the backs of earlier drawings, but often can’t resist. I’ve also been caught drawing on envelopes, lunch receipts, shopping lists, and graph paper.
Change up tools to stave off boredom. I try to avoid settling into a deep rut. I like to change tools from time to time to make the act of drawing more interesting and surprise myself. So, I also do drawings with ball points, fountain pens, markers, skinny Muji pens and Hi-Tec-C pens, and uncooked pasta.
Sources I get most of my drawing tools from Jet Pens. They have a nice selection and feature weird pens and brush pens from Japan. Kevin at Jet Pens ships fast and has always gotten my orders right. When I am feeling depressed, I use shopping therapy. Nothing cheers me like ordering fifty dollars worth of new pens and pencils.
So, where's the magic?
Here it is. I love to draw. I like making marks on blank paper. I like creating characters and scenes where nothing existed before. And I absolutely love when it when I can create a drawing that makes me laugh. Therefore, I draw everyday and gradually, because of all that time drawing, my drawings have gotten better.
So, if you want your drawings to get better, I urge you to draw more. Sure, you should experiment with new tools and supplies. But it is far more likely that improvement will come from daily practice than from new pens. And the energy to keep doing something day after day usually comes from the immense enjoyment it brings you. If you don't enjoy drawing that much, maybe you should become a chef or a musician?
Don—Pittsburgh, January 14, 2021










Phronsie hart
April 12, 2021
My marvelous niece turned me on to your work. She does your puzzles yep she’s a genius. I’m 79 and house bound on oxygen was feeling sorry for myself today but not now. I can sketch I’ve always sketched not as well as you ,but pretty darn good. I was giving up and you’ve made me want to continue another 79 years. Thanks for your blog I loved it Your the best ! In Every Way.